Mastering the Dual Blades in Monster Hunter Wilds: A Comprehensive Guide
In Monster Hunter Wilds, raw power isn't everything. Speed and precision are key, and the Dual Blades excel in this area. This guide details optimal Dual Blades strategies for dominating even the toughest monsters.
Recommended Videos Dual Blades in Monster Hunter Wilds
The Dual Blades are rapid, versatile weapons designed for high-frequency attacks. Mastering both their modes is crucial for battlefield success.
All Moves
| Command | Move | Description |
|---|---|---|
| Triangle/Y | Double Slash/Circle Slash | A foundational combo starter. Initiate with a Double Slash (Triangle/Y), followed by a Circle Slash (another Triangle/Y press). |
| Circle/B | Lunging Strike/Roundslash | A forward-slashing attack. A second press executes a Roundslash. |
| R2/RT | Demon Mode | Activates Demon Mode, boosting attack power, movement speed, evasion, and granting knockback immunity. |
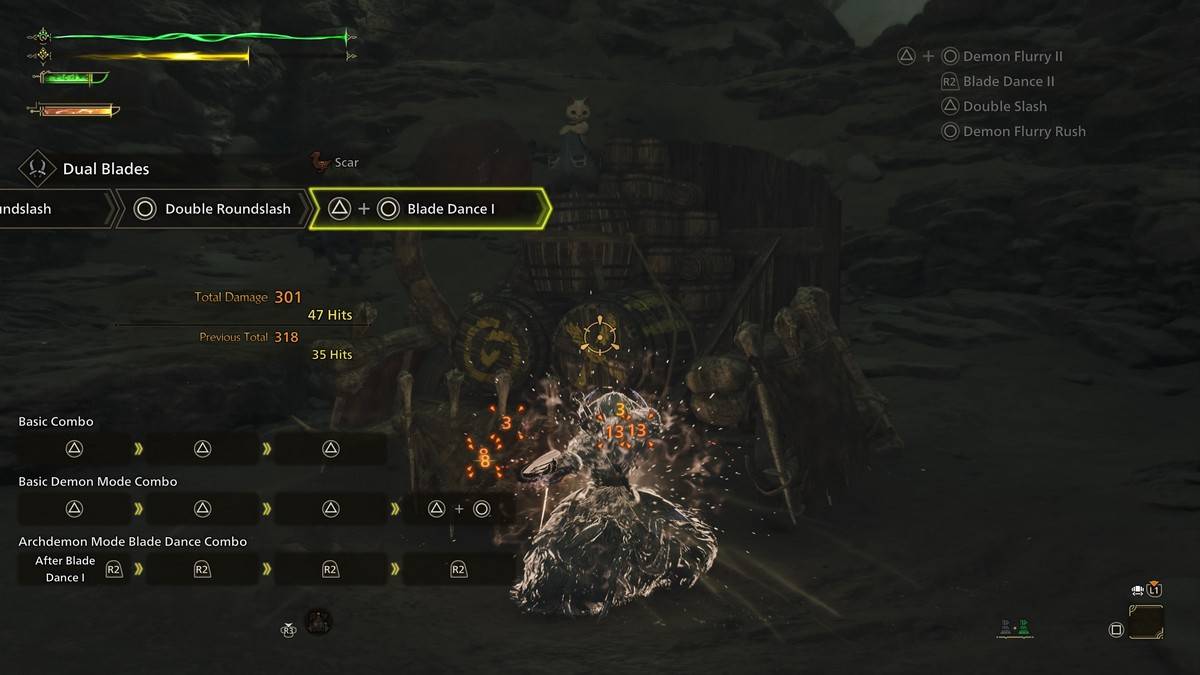
| Triangle/Y + Circle/B (In Demon Mode) | Blade Dance I, II, III | Powerful chained attacks in Demon Mode, consuming the Demon Gauge. |
| Triangle/Y + Circle/B (In Archdemon Mode) | Demon Flurry I, II | Powerful attacks exclusive to Archdemon Mode, consuming the Demon Gauge. Directional control via analog stick. Chainable with Blade Dance using R2/RT. |
| Cross/A (During Demon/Archdemon Mode) | Demon Dodge | A faster dodge in Demon/Archdemon Mode. Perfect Evades allow attacks during dodging and provide a temporary buff. Does not consume the Demon Gauge in Demon Mode. |
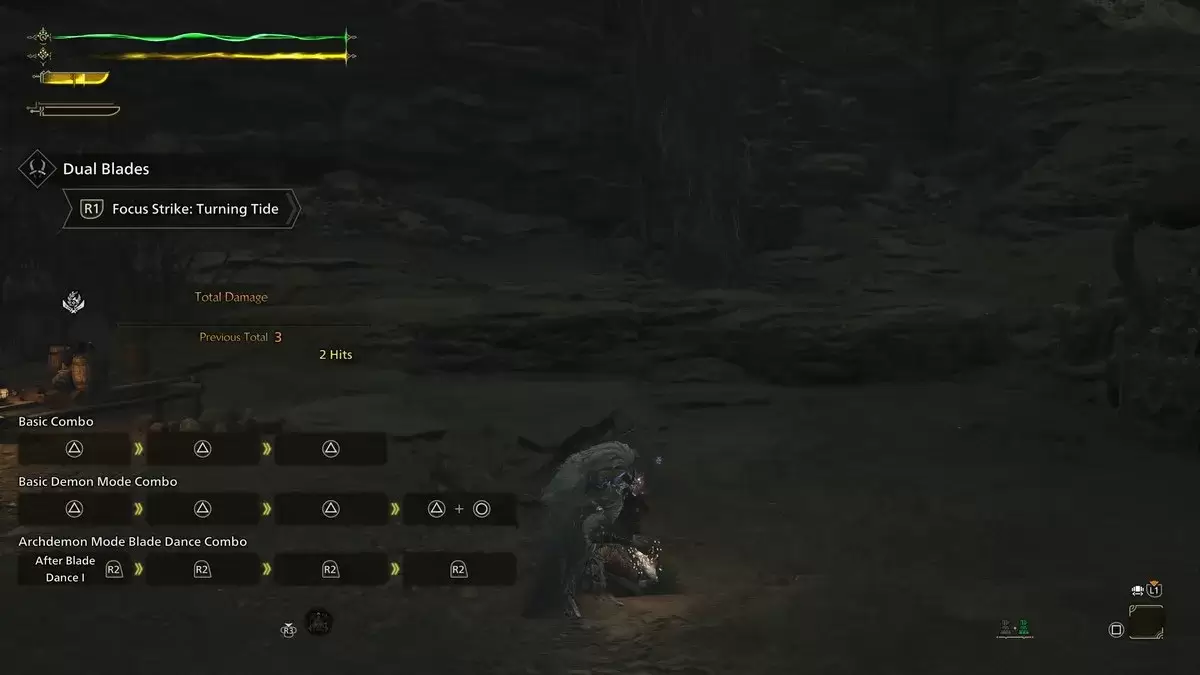
| L2/LT + R1/RB | Focus Strike: Turning Tide | A slashing attack particularly effective against wounded monsters. Hitting a wound triggers a Midair Spinning Blade Dance, capable of damaging multiple wounds simultaneously. |
Demon Mode/Demon Gauge and Archdemon Mode
The Dual Blades feature a unique Demon Gauge mechanic. Demon Mode enhances attack, speed, and evasion while providing knockback immunity, but consumes stamina continuously. Successful attacks in Demon Mode fill the Demon Gauge. A full gauge activates Archdemon Mode, which depletes the gauge over time but allows access to powerful, gauge-consuming attacks. Both modes can be used concurrently; the Demon Gauge stops depleting when mounted.
Demon Dodge
A powerful state triggered by a Perfect Evade. It increases damage (regular and elemental) and allows attacking while dodging. The 12-second buff allows additional damaging dodges.
Combos

Basic Combo: Triangle/Y x3 (Double Slash, Return Stroke, Circle Slash)
Quick Gauge-Filling Combo: Circle/B x3 (Demon Flurry Rush – Spinning Slash – Double Roundslash)
Demon Mode Combo: Demon Fangs -> Twofold Demon Slash -> Sixfold Demon Slash -> Triangle/Y + Circle/B (Demon Flurry I)
Archdemon Mode Combo: Blade Dance (Triangle/Y + Circle/B) -> R2/RT x4 (Demon Flurry I -> Blade Dance II -> Demon Flurry II -> Blade Dance III)
Related: How to Capture Monsters in Monster Hunter Wild
Dual Blade Tips

Combo Chain: Initiate with the quick gauge-filling combo, then transition into Demon/Archdemon Mode combos.
Stamina Management: Maintain high stamina for extended Demon Mode use. Utilize Focus Strike on wounds to replenish stamina while filling the Demon Gauge.
Defensive Dodging: Utilize the high mobility of the Dual Blades to dodge between attacks. Avoid over-committing.
Sharpening: Address frequent sharpness loss through the Speed Sharpening skill.
This concludes your guide to mastering the Dual Blades in Monster Hunter Wilds. Consult The Escapist for further game assistance.
Monster Hunter Wilds is available now on PlayStation, Xbox, and PC.


